在 Laravel 项目中编写单文件 Vue 组件
上篇教程我们演示了如何在 Vue CLI 原型项目中编写单文件 Vue 组件并进行编译,不过 Vue CLI 是一个纯前端的工具,我们之前使用 npm run serve 启动的也是一个 Node 服务器,如果想要在后端项目中集成 Vue.js 框架编写单文件 Vue 组件,而使用的开发框架又没有开箱支持 Vue 单文件组件,还是需要手动配置 Webpack 支持 Vue Loader,好在 Laravel 框架对此提供了开箱支持。
今天这篇教程,我们就来演示如何在 Laravel 项目中编写 Vue 单文件组件。
初始化 Laravel 项目
在 vue_learning 目录下新建一个 Laravel 示例项目 demo-laravel:
laravel new demo-laravel
然后进入该项目目录,如果想要在 Laravel 项目中开箱使用 Bootstrap 和 Vue 框架,需要运行如下命令安装 laravel/ui 库:
composer require laravel/ui
再运行如下 Artisan 命令初始化 Bootstrap 和 Vue 组件脚手架代码:
php artisan ui bootstrap
php artisan ui vue

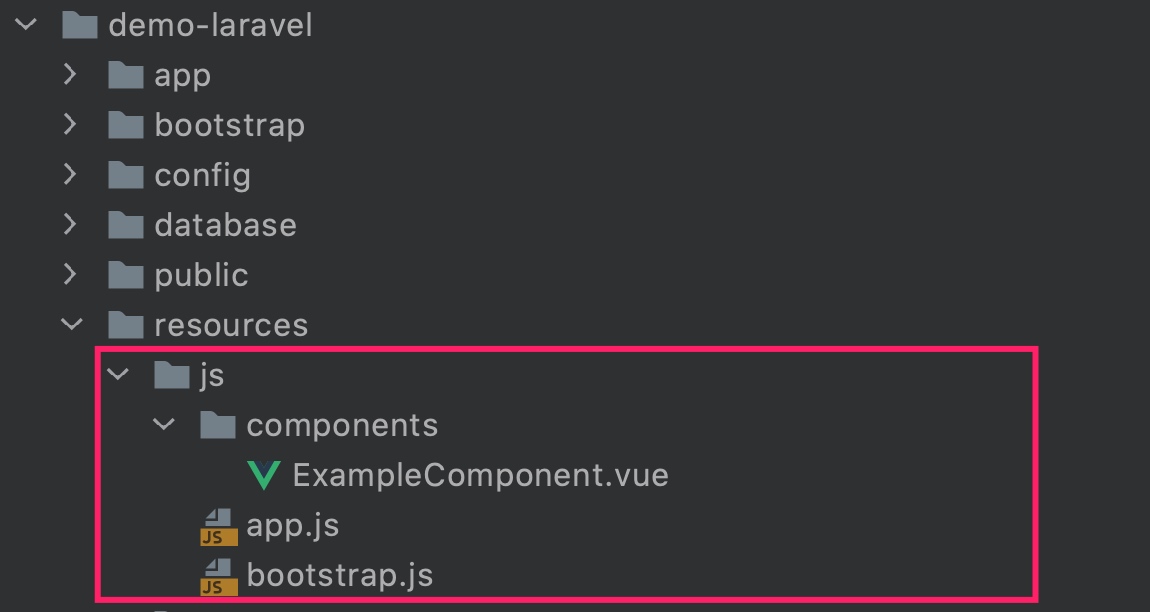
这个时候,打开 resources/js 目录,可以看到如下 Vue 组件和 JavaScript 入口文件:

在入口文件 app.js 中,可以看到加载 Bootstrap 和 Vue 框架的代码,以及注册 Vue 组件和初始化 Vue 对象实例并将其挂载到指定 HTML 元素的代码:
/**
 * First we will load all of this project's JavaScript dependencies which
 * includes Vue and other libraries. It is a great starting point when
 * building robust, powerful web applications using Vue and Laravel.
 */

require('./bootstrap');

window.Vue = require('vue');

/**
 * The following block of code may be used to automatically register your
 * Vue components. It will recursively scan this directory for the Vue
 * components and automatically register them with their "basename".
 *
 * Eg. ./components/ExampleComponent.vue -> <example-component></example-component>
 */

// const files = require.context('./', true, /\.vue$/i)
// files.keys().map(key => Vue.component(key.split('/').pop().split('.')[0], files(key).default))

Vue.component('example-component', require('./components/ExampleComponent.vue').default);

/**
 * Next, we will create a fresh Vue application instance and attach it to
 * the page. Then, you may begin adding components to this application
 * or customize the JavaScript scaffolding to fit your unique needs.
 */

const app = new Vue({
    el: '#app',
});
另外,在管理前端依赖的 package.json 配置文件中(位于项目根目录下),你也可以看到当前 Laravel 项目依赖的前端库:
"devDependencies": {
    "axios": "^0.19",
    "bootstrap": "^4.0.0",
    "cross-env": "^7.0",
    "jquery": "^3.2",
    "laravel-mix": "^5.0.1",
    "lodash": "^4.17.19",
    "popper.js": "^1.12",
    "resolve-url-loader": "^2.3.1",
    "sass": "^1.20.1",
    "sass-loader": "^8.0.0",
    "vue": "^2.5.17",
    "vue-template-compiler": "^2.6.10"
}
其中有 Bootstrap 相关的 bootstrap、jquery、popper.js,以及 Vue 相关的 vue、vue-template-compiler,另外还有一个 laravel-mix,和 Vue CLI 项目对 Webpack 进行预配置类似,Laravel 项目可以使用这个库对 Webpack 进行预设置,并且使用它提供的 API 对前端资源进行编译打包,从而极大降低后端开发者使用 Webpack 编译前端资源的学习成本和入门门槛,你甚至不需要了解 Webpack,也能使用 Laravel Mix 编译前端资源,对应的编译代码位于 webpack.mix.js 中:
const mix = require('laravel-mix');

/*
 |--------------------------------------------------------------------------
 | Mix Asset Management
 |--------------------------------------------------------------------------
 |
 | Mix provides a clean, fluent API for defining some Webpack build steps
 | for your Laravel application. By default, we are compiling the Sass
 | file for the application as well as bundling up all the JS files.
 |
 */

mix.js('resources/js/app.js', 'public/js')
    .sass('resources/sass/app.scss', 'public/css');
当然,Laravel Mix 底层封装的仍然是通过 Webpack 对前端资源进行编译打包的操作,以及对 Vue Loader 的支持,这样一来,我们才可以实现在 JavaScript 文件中注册单文件 Vue 组件,并正常进行解析和编译。
注:关于 Laravel Mix 的更多 API 及使用方法可以参考 Laravel 官方文档。
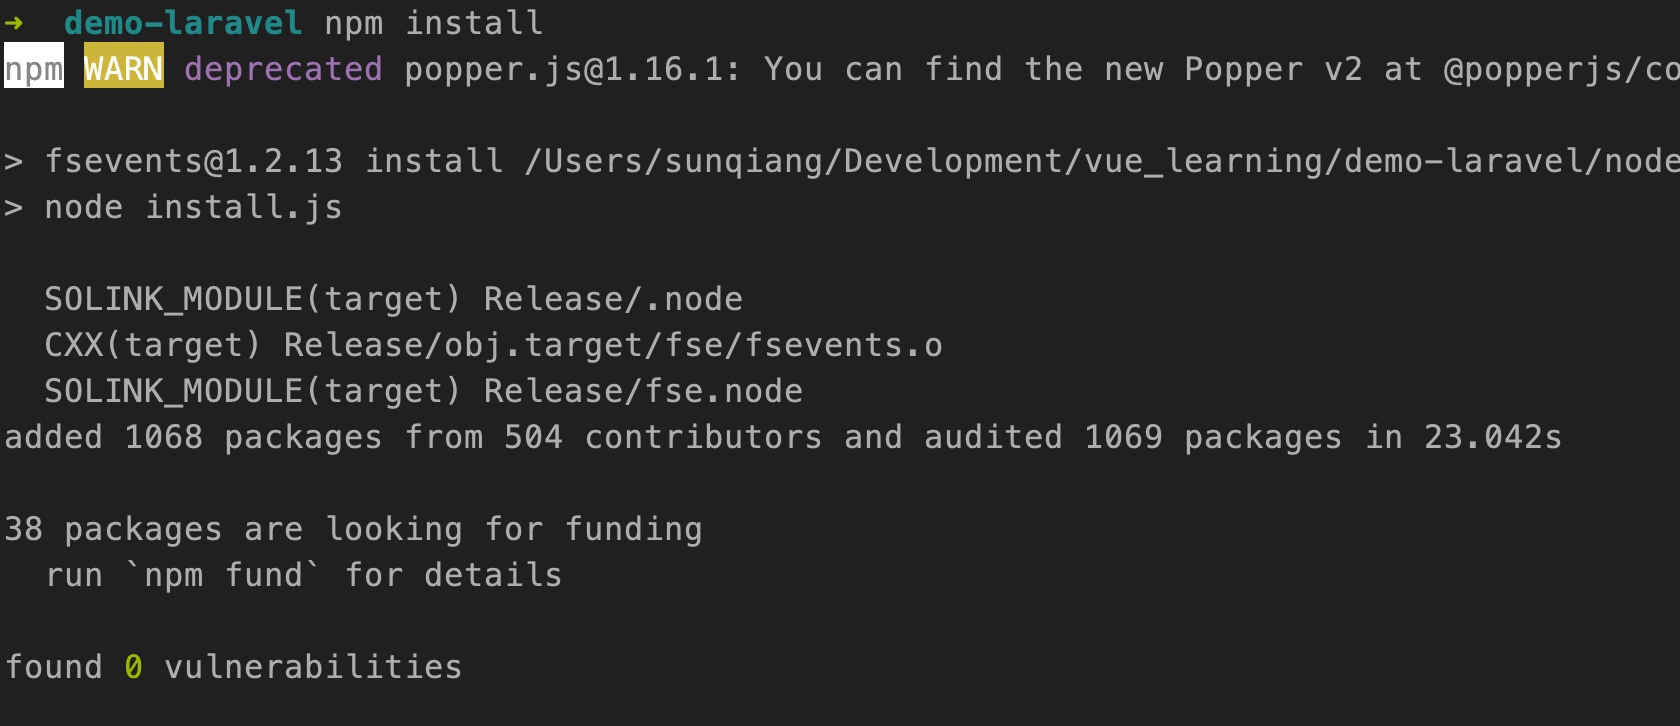
目前为止,还没有安装这些依赖库,需要在项目根目录下运行 npm install 进行安装才能使用它们:

至此,我们就完成了开箱支持单文件 Vue 组件的 Laravel 项目的初始化。
编写单文件 Vue 组件
接下来,我们来演示如何在 Laravel 项目中渲染单文件 Vue 组件。
我们将 resources/js/components 目录(默认的 Vue 组件存放目录)下自带的 ExampleComponent.vue 代码重命名为 HelloComponent.vue,并对代码做了略微调整:
<template>
    <div class="container">
        <div class="row justify-content-center">
            <div class="col-md-8">
                <div class="card">
                    <div class="card-header">Hello Component</div>

                    <div class="card-body">
                        <slot></slot>
                    </div>
                </div>
            </div>
        </div>
    </div>
</template>

<script>
    export default {
        name: 'HelloComponent'
    }
</script>

<style scoped>
    .container {
        margin: 10px;
    }
</style>
单文件 Vue 组件的结构还是和之前一样,这个组件的逻辑非常简单,会通过插槽将父级作用域传递过来的欢迎文本渲染出来。
修改 app.js 中的组件注册代码:
Vue.component('hello-component', require('./components/HelloComponent.vue').default);
为了让修改后的 Vue 组件生效,需要运行 npm run dev 命令编译 JavaScript 文件,编译成功会有相应的提示文本:

然后,我们就可以在 resources/views/welcome.blade.php 中引入上述编译后的前端资源文件,在页面中渲染 hello-component 组件了:
<!DOCTYPE html>
<html lang="{{ str_replace('_', '-', app()->getLocale()) }}">
    <head>
        ...

        // 引入支持 Bootstrap 的 CSS 样式文件
        <link href="{{ asset('css/app.css') }}" rel="stylesheet">
    </head>
    <body>
        <!-- 为 div 元素设置 id="app" 属性使 Vue 对象实例成功挂载上来 -->
        <div id="app" class="flex-center position-ref full-height">
            ...

            <div class="content">
                ...
                <!-- 引入 hello-component 组件进行渲染 -->
                <hello-component>你好,学院君!</hello-component>
            </div>
        </div>
        <!-- 最后不要忘了引入包含 Vue 框架和 Vue 组件的 app.js 文件 -->
        <script src="{{ asset('js/app.js') }}"></script>
    </body>
</html>
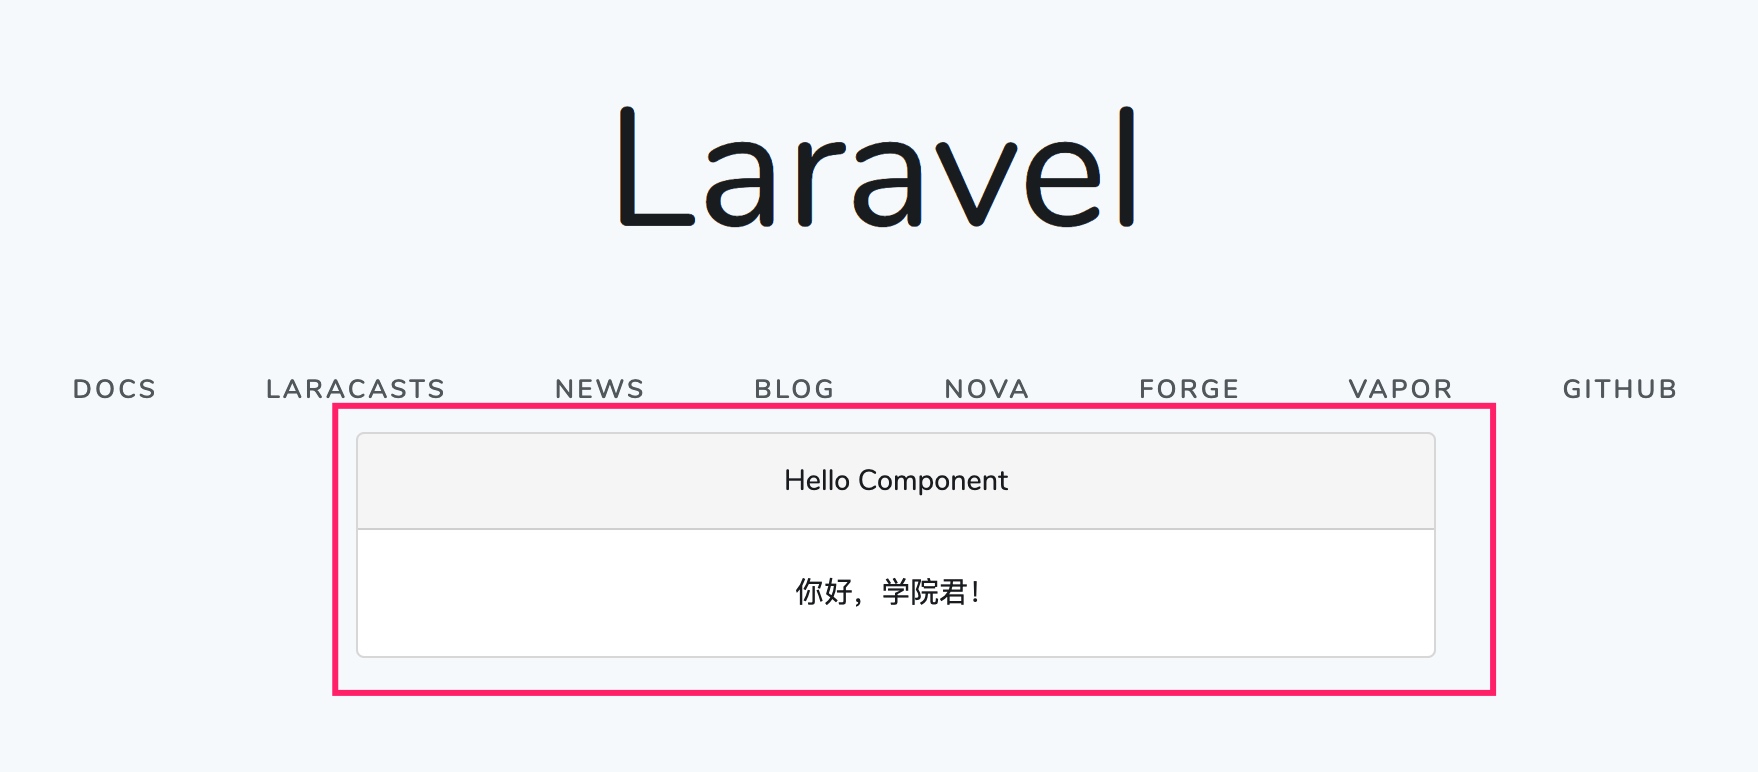
运行 php artisan serve 启动 Laravel 内置 Web 服务器,就可以在浏览器通过 http://127.0.0.1:8000/ 访问项目首页了,该路由渲染的视图正是 welcome.blade.php,我们可以在页面中看到 Hello Component 组件渲染的内容,说明单文件 Vue 组件注册成功:

前端代码热重载
在本地开发过程中,如果你觉得每次新增或修改 Vue 组件代码后重新运行 npm run dev 很麻烦,可以通过 npm run watch 命令编译前端资源,该命令会监听前端资源的修改,一旦有变动会重新运行 npm run dev 指令:

可以看到 npm run watch 命令运行之后,不会退出,会继续监听前端资源的调整。
我们试着修改 HelloComponent.vue 代码,调整 CSS 样式如下:
<style scoped>
    .container {
        margin: 30px;
    }
</style>
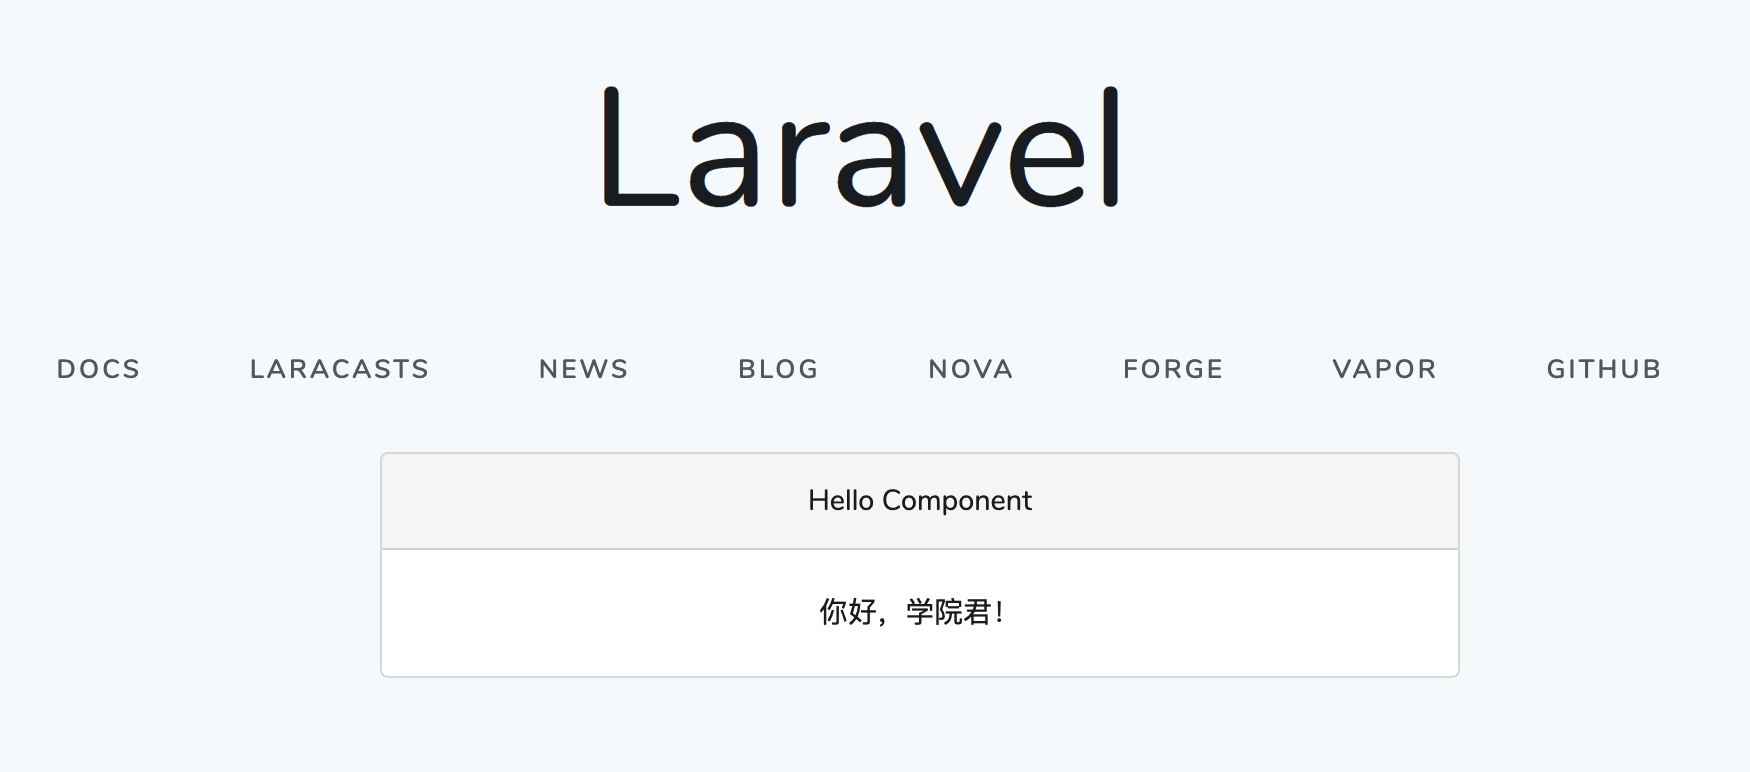
保存更改后,可以看到命令行中会再次编译前端资源,此时在浏览器中刷新 http://127.0.0.1:8000/ 页面,可以立即看到样式调整生效:

这和我们上篇教程介绍的 Vue CLI 项目中的 Vue 组件热重载效果完全一致。
这些 NPM 命令都配置在 package.json 的 scripts 选项中:
"scripts": {
    "dev": "npm run development",
    "development": "cross-env NODE_ENV=development node_modules/webpack/bin/webpack.js --progress --hide-modules --config=node_modules/laravel-mix/setup/webpack.config.js",
    "watch": "npm run development -- --watch",
    "watch-poll": "npm run watch -- --watch-poll",
    "hot": "cross-env NODE_ENV=development node_modules/webpack-dev-server/bin/webpack-dev-server.js --inline --hot --disable-host-check --config=node_modules/laravel-mix/setup/webpack.config.js",
    "prod": "npm run production",
    "production": "cross-env NODE_ENV=production node_modules/webpack/bin/webpack.js --no-progress --hide-modules --config=node_modules/laravel-mix/setup/webpack.config.js"
},
如果是生产环境,可以运行 npm run prod 命令编译前端资源,该命令不会展示编译细节,另外还有一个 hot 指令,该命令和上篇教程 Vue CLI 项目的 serve 命令一样,会启动一个 Node Web 服务器,并且通过 --hot 选项表明支持前端代码热重载,不过我们这里不是前端项目,这个命令在这里没有什么意义。

No Comments