Vue Loader 篇(下):编写一个单文件 Vue 组件
引入 Bootstrap 框架
开始之前,需要添加 Bootstrap 到 Vue CLI 项目,由于目前所有前端资源都已经通过 NPM 进行管理,所以需要安装对应的依赖包:
npm install bootstrap jquery popper.js
然后在 src/main.js 中引入 Bootstrap 的脚本和样式文件:
import Vue from 'vue'
import App from './App.vue'
import 'bootstrap'
import 'bootstrap/dist/css/bootstrap.min.css'

...
接下来,就可以正式编写单文件组件了。
编写 ModalExample 组件
我们将 vue_learning/component/slot.html 中的 modal-example 组件拆分出来,在 vue_learning/demo-project/src/components 目录下新建一个单文件组件 ModalExample.vue,将 modal-example 组件代码按照 Vue Loader 指定的格式填充到对应位置:
<template>
  <div class="modal fade" id="exampleModal" tabindex="-1" aria-labelledby="exampleModalLabel" aria-hidden="true">
    <div class="modal-dialog">
      <div class="modal-content">
        <div class="modal-header">
          <h5 class="modal-title" id="exampleModalLabel">
            <slot name="header"></slot>
          </h5>
          <button type="button" class="close" data-dismiss="modal" aria-label="Close">
            <span aria-hidden="true">×</span>
          </button>
        </div>
        <div class="modal-body">
          <ul>
            <li v-for="language in languages" v-bind:key="language.id">
              <slot v-bind:language="language">{{ language.name }}</slot>
            </li>
          </ul>
        </div>
        <div class="modal-footer">
          <button type="button" class="btn btn-secondary" data-dismiss="modal">Close</button>
          <button type="button" class="btn btn-primary">Save changes</button>
        </div>
      </div>
    </div>
  </div>
</template>

<script>
export default {
  name: 'ModalExample',
  props: ['languages']
}
</script>

<!-- Add "scoped" attribute to limit CSS to this component only -->
<style scoped>
ul li {
  text-align: left;
}
</style>
除了父级作用域传入的 languages 数据结构有所调整外,其他都保持一致,相信有了前面的铺垫,看懂上面的组件代码对你而言已经不是什么难事。
注册 ModalExample 组件
接下来,我们在 App.vue 中引入 ModalExample 组件:
<template>
  <div id="app">
    <img alt="Vue logo" src="./assets/logo.png">
    <hr>
    <!-- Button trigger modal -->
    <button type="button" class="btn btn-primary" data-toggle="modal" data-target="#exampleModal">
      模态框
    </button>
    <!-- Modal -->
    <ModalExample :languages="this.languages">
      <template slot="header">{{ this.title }}</template>
      <template scope="bodyProps">
        {{ bodyProps.language.name }}
        <span v-if="bodyProps.language.name === 'PHP'">☑️</span>
      </template>
    </ModalExample>
  </div>
</template>

<script>
import ModalExample from './components/ModalExample.vue'

export default {
  name: 'App',
  data() {
    return {
      'title': 'Web 编程语言',
      'languages': [
        {'id': 1, 'name': 'PHP'},
        {'id': 2, 'name': 'JavaScript'},
        {'id': 3, 'name': 'Golang'}
      ]
    }
  },
  components: {
    ModalExample
  }
}
</script>

...
我们将之前的 HelloWorld 组件调整为 ModalExample 组件,可以看到,这里只是按照 Vue Loader 单文件组件规范重新编排了代码,主体逻辑和之前混合在 HTML 文档中的组件注册并没有什么差别。
验证单文件组件渲染
需要指出的是,Vue CLI 项目在通过 npm run serve 命令启动服务时,会附带开箱即用的模块热重载(Hot Module Replacement),所以 src/main.js 及其依赖的任意 JavaScript 代码(包括单文件 Vue 组件)调整并保存后,会自动进行重新编译打包。
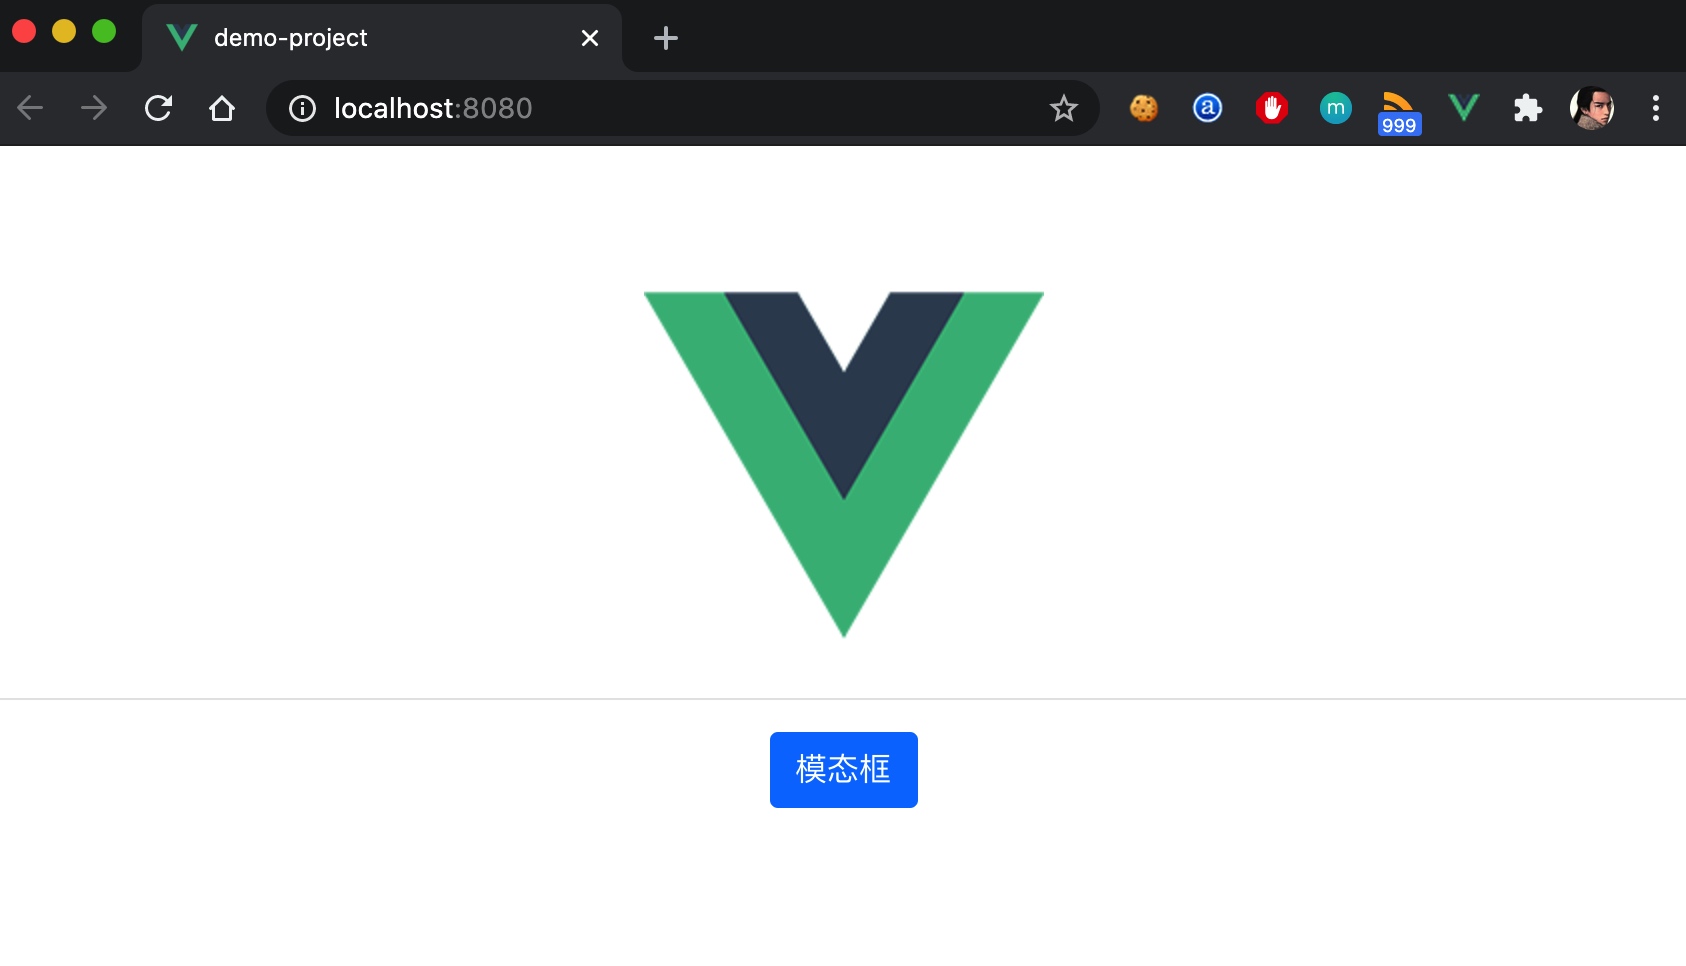
因此,在浏览器刷新 http://localhost:8080 页面,就可以看到如下页面渲染结果:

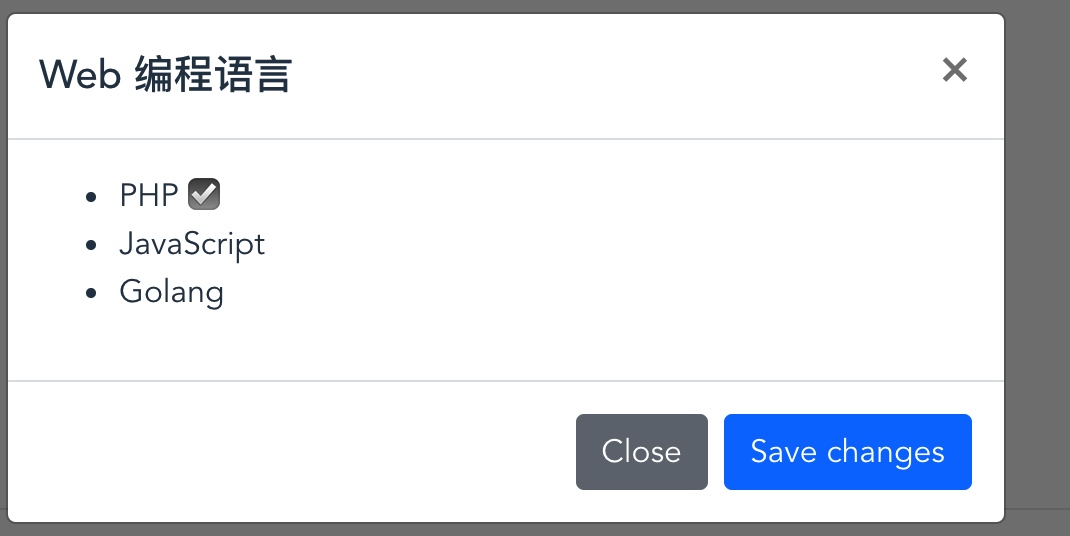
点击「模态框」按钮,可以看到弹出的模态框如下,和之前渲染的效果完全一致:

这同时也验证了 Bootstrap 框架已经成功引入。
当然,这只是一个功能非常简单的单文件 Vue 组件,接下来,学院君会陆续基于 Vue 组件实现一些更加复杂的功能,比如交互表单、单页面应用等。

3 Comments
在项目demo-project根目录下执行 npm install bootstrap jquery popper.js 即可
npm install --save @popperjs/core自己找到原因了,
npm install bootstrap jquery popper.js安装的bootstrap是版本5,需要降低版本到4